This post may contain affiliate links. As an Amazon Associate, we earn from qualifying purchases.
How one chicken becomes multiple nourishing meals.
There’s something incredibly satisfying about stretching one simple chicken into dinner tonight, soup tomorrow, and extra nourishment for later in the week.
At our house, we skip the store-bought rotisserie birds and make our own at home. It tastes better, costs less per meal, and lets us control exactly what goes into the food we serve our family.
No mystery ingredients. No unnecessary additives. Just real food.
Here’s how we do it.
Step 1 – Make a Homemade Rotisserie-Style Chicken
Ingredients
- 1 whole chicken (about 5 pounds)
- 2-3 cups of water or broth
- Olive oil spray
- Salt
Instructions
- Place the chicken on the rack inside your Ninja Foodi.
- Add the water or broth to the pot.
- Pressure cook on High for 40 minutes.
- Carefully remove and pat the skin dry.
- Lightly spray with olive oil.
- Sprinkle generously with salt.
- Air crisp at 390°F for about 20 minutes, checking at 10 and 15 minutes until the skin is golden.
Dinner is ready ✨
You’ll have juicy meat, crispy skin, and a carcass full of potential.
After Dinner – Save Everything
Once everyone has eaten, pull the remaining meat from the bones.
Use it for: tomorrow’s soup, sandwiches, wraps, salads etc.
Then put the bones right back into the pot.
Nothing wasted.
Step 2 – Turn the Carcass into Bone Broth
This is where the magic really happens — and where the kids love to help.
Add to the pot
- 2 cups celery
- 2 cups onion
- 1 cup carrots
- 8-10 cloves garlic
- 2-3 teaspoons cracked peppercorns
- 2 tablespoons apple cider vinegar
- 10 cups water
Cook
Set to Low and let it go overnight (8–12 hours).
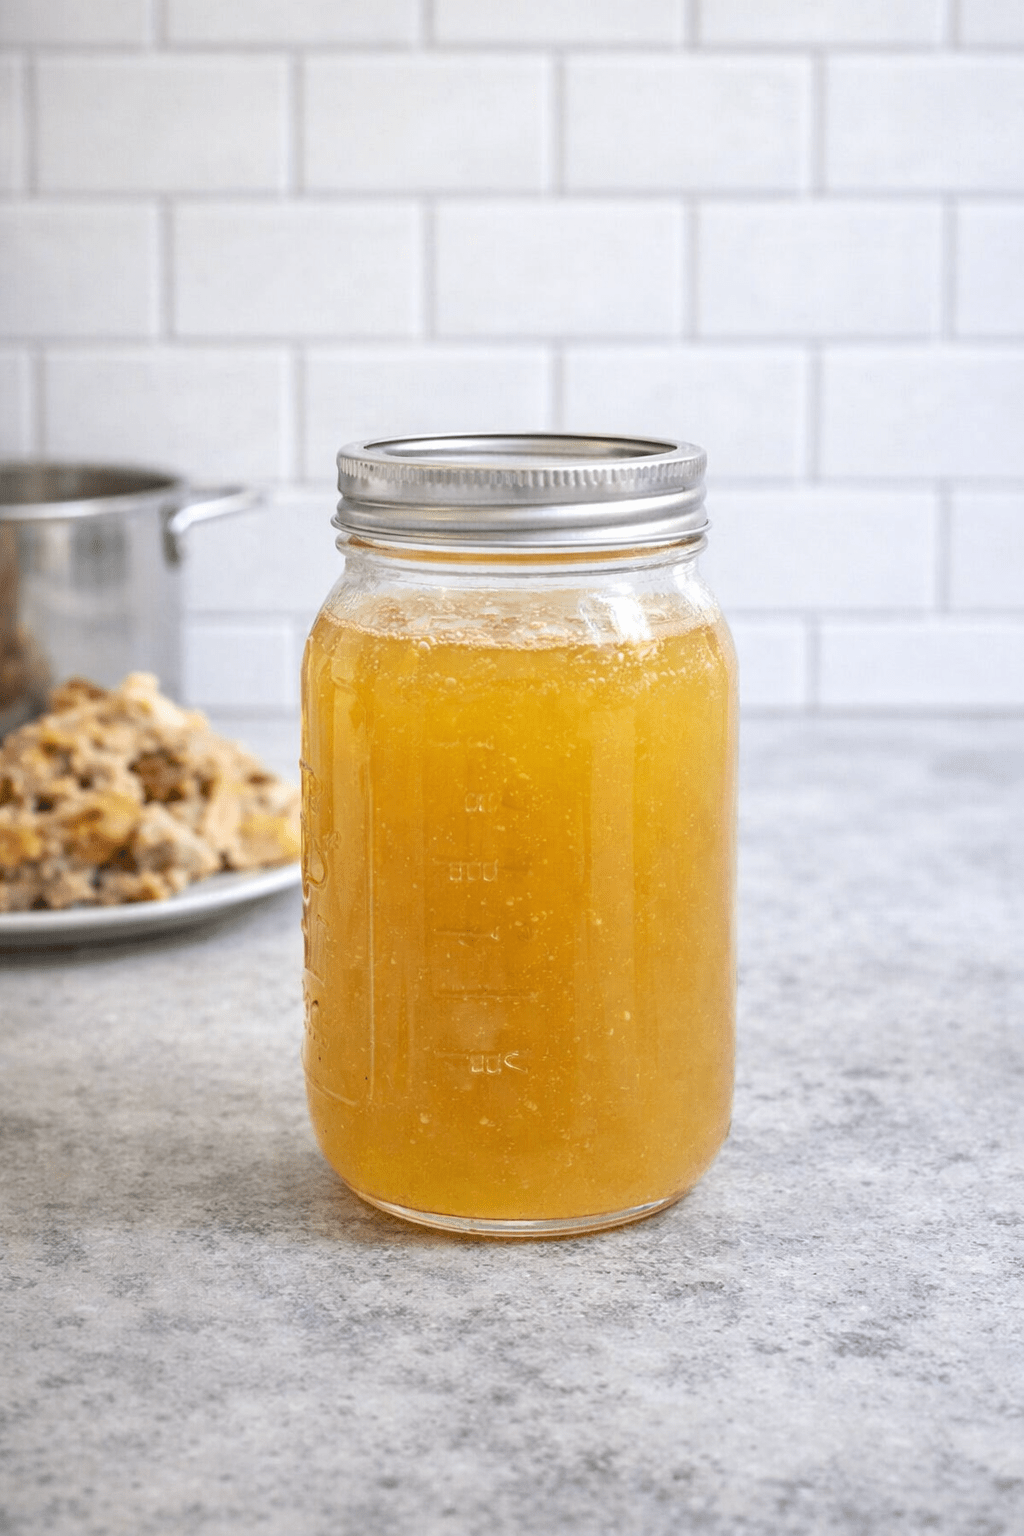
In the morning, strain it.
What’s left is rich, flavorful broth that can become so many meals.
Liquid gold 🤍
Why the vinegar?
Adding a splash of apple cider vinegar might seem like a small step, but it plays an important role in homemade broth.
The mild acidity helps draw minerals like calcium, magnesium, and potassium out of the bones and into the liquid as it cooks. Over long, slow heat, it also supports the release of collagen from connective tissues, which is what gives well-made broth that rich body and sometimes even a gentle gel texture once cooled.
The good news? You won’t taste it.
In a large pot of water, vegetables, herbs, and chicken, the vinegar simply does its quiet work in the background while the flavors from the ingredients take center stage.
Think of it as a helper — not a seasoning.
And when kids are in the kitchen, it’s a great opportunity to talk about how tiny changes in a recipe can make a big difference in what ends up in the final bowl.
Follow Along with Gemma
Gemma gives an overview of how we make ours at home.
After straining it, we’re putting it right back into the pot on Keep Warm until dinner so we can make chicken noodle soup.
How to Store Bone Broth
Refrigerator: Store up to 4–5 days.
Freezer: Pour into freezer-safe containers. Important: leave extra room at the top so the liquid can expand when frozen.
Pressure canning: If you are experienced and equipped for safe canning, broth can be preserved for pantry storage.
Ways to use bone broth
Bone broth is one of the most flexible staples you can keep in your kitchen. It adds depth, richness, and nourishment to everyday meals without any extra work.
- soups
- cooking grains
- sauces
- braising
- adding moisture and flavor to leftovers
Anywhere you’d normally use water, broth can add nourishment.
The real benefit
One chicken becomes:
✔ dinner
✔ ingredients for another meal
✔ homemade broth
✔ food for the freezer
More value.
Better flavor.
Less waste.
And kids get to see how meals are truly built.

Leave a comment