There’s something incredibly satisfying about turning a simple, whole ingredient into a staple food using nothing but time, motion, and a little patience. Making butter from raw milk is a hands-on process that’s approachable for adults and kids alike—and it’s a great way to slow down and really see where food comes from.
This guide walks through the entire process step by step, from raw milk to finished butter, using just one ingredient.
Supplies You’ll Need
- Raw milk (or heavy cream)
- A glass jar with a tight-fitting lid (a mason jar works well)
- A fine mesh strainer or sieve
- A bowl (to catch the buttermilk)
- Cold water
- A spoon or spatula
Although butter churns are available, they aren’t necessary—this can be done easily at home with simple tools you likely already have.
Step 1: Let the Cream Rise
Start by refrigerating your raw milk and letting it sit undisturbed for several hours or overnight. The cream will naturally rise to the top. I used a bowl so it was easier to skim in the morning.
Once the cream has separated, carefully skim it off the top and transfer it to your jar. You can use just the cream or shake all of the milk; using cream will shorten the process, but both methods work.
If you do not have access to raw milk, that is okay. You can still make butter at home using store bought heavy cream – that also means you can skip this step.
Step 2: Shake, Shake, Shake
Secure the lid tightly on your jar and begin shaking. This is where kids love to get involved.
At first, the milk or cream will slosh around like liquid. After several minutes, it will thicken into whipped-cream consistency. Keep going—this is the point where many people stop too early.
Eventually, you’ll notice a sudden change: solid butter clumps will form, and a thin liquid (buttermilk) will separate.
Watch the Process in Action
Right here in the middle of the process is a great place to see it happen visually. Nash does a hands-on demonstration showing exactly what the shaking stage looks like and how the butter separates from the liquid.
Step 3: Strain the Butter
Once the butter has fully separated, pour the contents of the jar into a strainer placed over a bowl. The liquid that drains out is buttermilk—save it if you’d like for baking, pancakes, or biscuits.
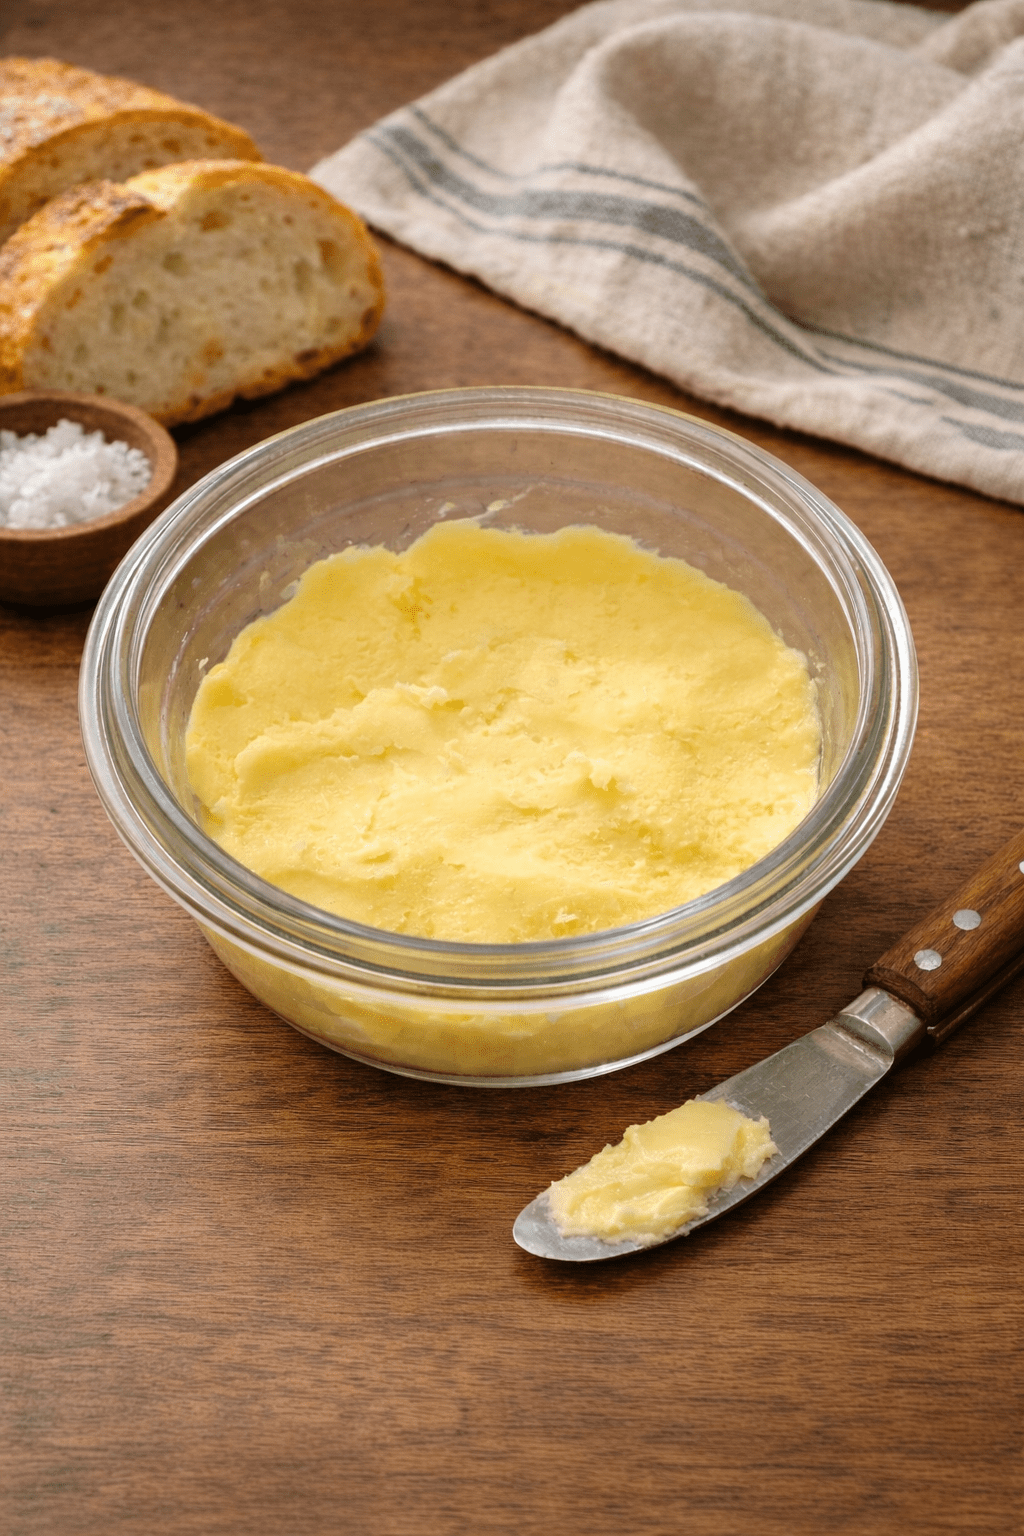
What remains in the strainer is fresh butter.
Step 4: Rinse the Butter
This step is important for shelf life and flavor.
Place the butter in a bowl and pour cold water over it. Gently press and fold the butter with a spoon or spatula to release any remaining buttermilk. Drain and repeat until the water runs clear.
Removing as much liquid as possible helps the butter stay fresh longer.
Step 5: Shape and Enjoy
At this point, you have plain, unsalted butter. You can shape it into a small pat, store it in a container, or enjoy it immediately.
If you choose to add salt, mix in a small pinch and taste as you go. Otherwise, leave it unsalted for cooking or baking.
How Much Butter Should You Expect?
The yield will vary depending on how much cream you start with. From a couple of cups of cream, expect just a few tablespoons of butter. That small amount is normal and a great reminder of how concentrated butter really is.
Why Make Butter at Home?
- It’s a powerful learning experience for kids
- You control the ingredient—just raw milk or cream
- It builds appreciation for traditional food processes
- It turns a simple kitchen moment into something memorable
Making butter from raw milk is simple, engaging, and deeply rewarding. Whether you’re doing it as a hands-on lesson, a family activity, or just for fun, the process invites curiosity and connection. Sometimes the most meaningful food experiences come from slowing down and letting your hands do the work.

Leave a comment